Getting to Know OS Installations and Storage Terminology
So you're setting up a new OS on your machine, and suddenly you're drowning in jargon. ISO this, bootloader that, and what is a VGA buffer anyway?
So you're setting up a new OS on your machine, and suddenly you're drowning in jargon. ISO this, bootloader that, and what is a VGA buffer anyway? If you've found yourself confused by the technical vocabulary surrounding OS installation and storage hardware, you're definitely not alone. Let's break down these terms in a way that actually makes sense.
What's an ISO File, Really?
An ISO file is basically a complete digital copy of an optical disc. Think of it like taking a snapshot of a CD or DVD and saving it as a single file on your computer. The term comes from the ISO 9660 standard, which defines how data is organized on optical media.
What makes ISOs special is that they capture everything about the disc, not just the individual files. This includes the directory structure, file metadata, and critically, the boot information. So when you download a Linux distribution or Windows installer, you're getting an ISO that's essentially a perfect replica of what would be on a physical disc. It can range anywhere from a few hundred megabytes for minimal distributions up to several gigabytes for the complete package with all the bells and whistles.
The Art of Burning and Optical Discs
Optical discs are the physical media that use laser technology to store your data. You've probably heard of CDs, DVDs, and Blu-rays, but let's talk about the differences. A CD holds around 700 MB, a DVD can store 4.7 GB or more, and a Blu-ray disc can hold 25 GB or beyond. Each one uses the same laser technology but with different wavelengths and storage densities.
Now, burning is the process of writing an ISO onto one of these discs. The term "burning" actually comes from the old days when a laser would literally burn microscopic pits onto the disc surface to represent your data. Modern drives still do essentially the same thing, just with better precision and speed. When you burn an ISO to a disc, the burner writes the exact contents of the ISO file, preserving the structure and making sure the disc can actually boot your computer when you need it to.
Of course, you don't necessarily need to burn to a physical disc anymore. You can also burn an ISO to a USB flash drive, which works great for modern machines and is honestly more convenient than dealing with optical media.
From Floppy Disks to SSDs
Before we talk about bootable media, let's cover the hardware landscape. You've got your traditional hard disk drives (HDDs), which store data magnetically on spinning platters. Then there are solid-state drives (SSDs), which use semiconductor memory and have no moving parts, making them faster and more reliable. USB flash drives work similarly to SSDs but are obviously designed for portability.
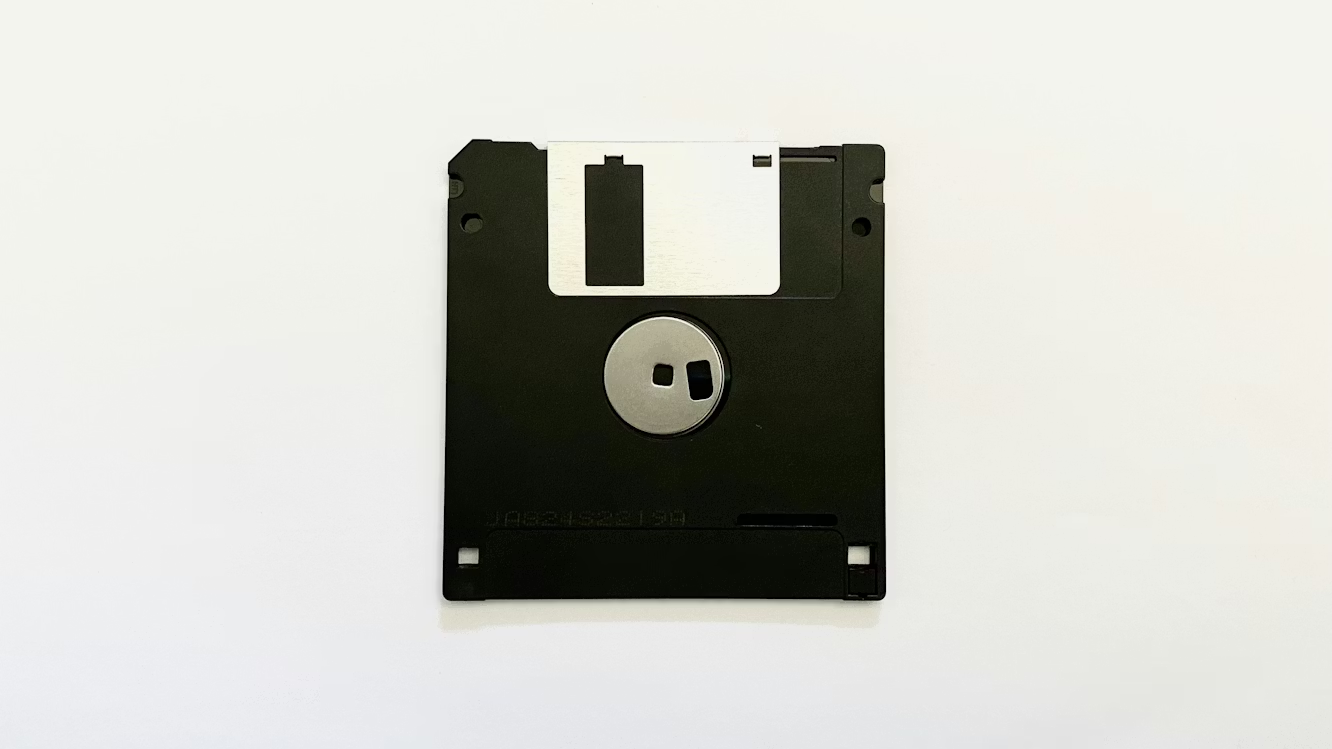
But here's where it gets interesting from a historical perspective: floppy disks. These magnetic storage devices were absolutely everywhere in the computing world. You could fit between 720 KB and 1.44 MB on a single floppy, which sounds laughable now but was a big deal at the time. Operating systems and software used to be distributed on stacks of floppies. When optical discs came along with their massive storage capacity, the floppy disk basically disappeared overnight. You'll still find floppy drives in some old industrial equipment, but for most of us, they're just a nostalgic relic. Though interestingly, the save icon in many programs is still modeled after the floppy disc.
Making Media Bootable
For a storage device to be bootable, it needs two things: a bootloader and proper formatting. A bootloader is executable code that lives in a special area called the boot sector. When your computer starts up, the firmware looks for this boot sector on each device in a specific order until it finds one.
Here's the thing though, just copying files to a USB drive won't make it bootable. You have to use proper disk imaging or burning software that preserves the boot sector structure. When you correctly burn an ISO or image it to a USB drive, all that boot information stays intact. But if you just drag and drop files onto a USB drive like you normally would, the boot sector gets lost, and your computer won't recognize it as bootable. It's one of those gotchas that trips people up surprisingly often.
The Bootloader
The bootloader is basically the middleman between your hardware and your operating system. It's a small program that sits in the boot sector, waiting to be executed when you power on your machine.
Here's the sequence: you flip the power switch, the CPU runs the firmware code stored in ROM (Read-Only Memory), and the firmware searches for a bootable device. When it finds one, it loads the bootloader from the boot sector into memory and runs it. The bootloader then takes over and does some heavy lifting as it initializes critical hardware components like the memory controller and storage controllers, detects how much RAM you've got, finds the OS kernel on disk, loads it into memory, and finally hands control over to the kernel so the operating system can take over.
Different systems use different bootloaders. Linux systems often use GRUB (GRand Unified Bootloader), Windows uses the Windows Boot Manager, and older systems might use LILO or the BIOS Boot Manager. With modern computers, you'll probably be dealing with UEFI (Unified Extensible Firmware Interface) rather than the older BIOS, which changes things a bit but follows the same general principle.
Mounting
Mounting is the process of attaching a file system to your operating system so you can actually access the files within it. When you mount something, the OS creates a connection point. On Windows that's typically a new drive letter like D: or E:, while on Linux or Mac it's usually a directory path.
In the context of installing an OS, mounting an ISO means treating it like a virtual disc drive. Your system can read files from the ISO as if it were a physical CD or DVD in a drive. This is super useful because you don't necessarily need physical media or even a USB stick, you can often mount an ISO file directly and run an installer from there. Tools like DAEMON Tools on Windows or fuseiso on Linux make this possible.
VGA Buffer and Early Boot Display
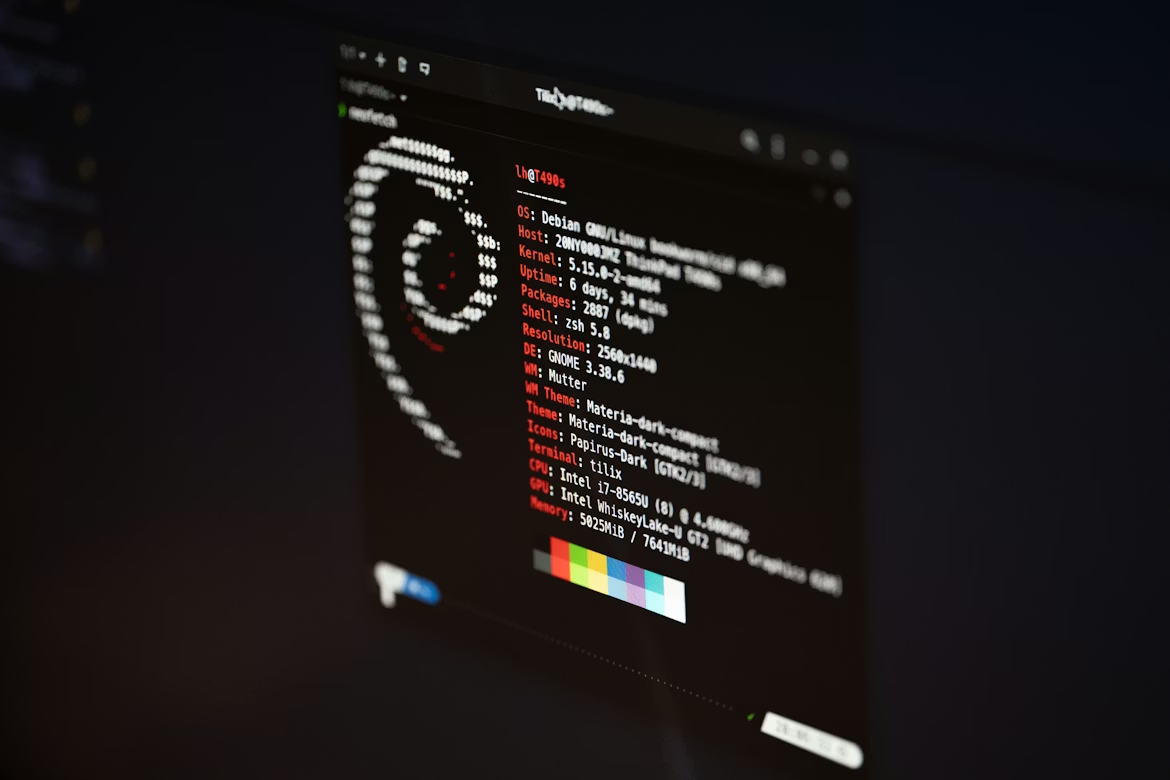
During the very early stages of boot, before your fancy graphics drivers load up, the system needs some way to display information. That's where the VGA buffer comes in. VGA stands for Video Graphics Array, a display standard from 1987 that supported resolutions like 640×480 with 16 colors. Yeah, it's old, but the mechanism is still around.
The VGA buffer is basically a dedicated chunk of system memory where pixel data gets stored for display. The bootloader and early kernel code write character data directly to this buffer, and the graphics hardware reads it and displays it on your monitor. It's simple, it doesn't need fancy drivers, and it works even when the system is barely initialized. Once the OS fully loads and can run its graphics drivers, it moves away from this basic VGA mechanism and can do much more sophisticated things with your display. That's why you see those simple text screens during boot before the nice graphical login screen appears later.
Partitions and Boot Sectors
Most storage devices are divided into partitions, each functioning like a separate logical drive. This lets you run multiple operating systems on one machine or organize your data in different sections. The partition information lives in something called a partition table, which is stored right at the beginning of your storage device.
There are two main partition table standards you should know about. The Master Boot Record (MBR) is the older standard that supports up to four primary partitions and uses 32-bit addressing, which limits each partition to 2 TB. The GUID Partition Table (GPT) is newer and much more flexible since it supports up to 128 partitions and uses 64-bit addressing, so partition sizes can be massive. GPT is basically required if you're using UEFI firmware on a modern system.
The boot sector itself is where the bootloader code lives. With MBR systems, it's in the first 512 bytes of the device. With UEFI systems, things are a bit different: the bootloader hangs out in a special EFI System Partition, which is a small FAT32-formatted partition that the firmware knows how to find and access during boot.
Putting It All Together
So how does all this fit together when you're actually installing an OS? Let's walk through it.
First, you grab the ISO file from wherever you're downloading it from. Then you need to get that ISO onto bootable media, whether that's an optical disc, a USB drive, or mounted directly on your system. You insert the media (or select it in the boot menu) and power on your machine.
When the computer boots, the firmware finds your bootable media and loads the bootloader. The bootloader initializes your hardware and displays some basic text information through the VGA buffer, stuff like what's being detected and initialized. Then it loads the OS installer. The installer typically runs in a minimal environment at first, then loads more complete tools if needed.
From here, you partition your target drive, select where to install the OS, and configure whatever options are relevant. The installer copies all the OS files from the ISO onto your hard drive, sets up the file systems, and creates a bootloader on your actual drive. Once everything is installed, it reboots your machine. This time around, the firmware finds the bootloader on your newly installed OS and boots from there instead of the installation media. Your new OS starts up for the first time, and you're good to go.
Wrapping Up
When you strip away all the jargon, OS installation is pretty straightforward. ISOs are disc copies, burning writes them to media, bootloaders get the party started, and everything else is just the OS installer doing its thing. Understanding these terms helps demystify what's actually happening under the hood when you're setting up a new system. And honestly, once you know how all these pieces fit together, the whole process becomes a lot less intimidating.
Read more at: Lazzerex’s Blog
Source: Published Notion page
This article
Post Reactions
Join the conversation
Write a Comment
Share your thought about this article.
Comments
Loading comments...